
Mastering Lightroom
From flat RAW files to cinematic masterpieces. Step inside our interactive workspace to master Lighting, the Tone Curve, Color Grading, and AI Masking.
The Workflow (TL;DR)
Editing a RAW file in Adobe Lightroom follows a strict hierarchy for the best results: 1. Lighting & White Balance (Fixing the exposure and baseline colors), 2. The Tone Curve (Adding cinematic contrast and matte fades), 3. Color Grading (Injecting mood into shadows and highlights), and 4. Masking (Selectively enhancing the subject or sky). Follow this order, and your editing will instantly reach a professional level.
1. The Lightroom Workspace (Interactive Simulator)
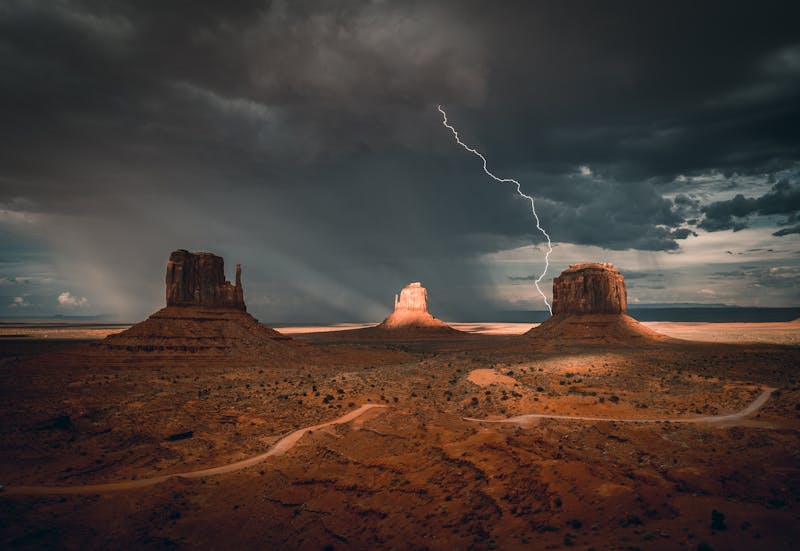
Before reading the theory, try it yourself. We rebuilt the Lightroom Develop Module right here. Move the sliders in the Basic Panel below to see how adjusting RAW data affects the image.
2. Lighting & White Balance (The Foundation)
Lighting (Exposure, Highlights, Shadows)
Because you are shooting in RAW (which contains massive amounts of hidden data), you have the power to rescue details. If the sky is too bright (blown out), drag the Highlights slider to the left to recover the clouds. If your subject is too dark, drag the Shadows slider to the right to reveal their face.
White Balance (Temperature & Tint)
White Balance dictates the overall temperature of your image. Dragging Temp to the blue side creates a moody, cinematic, or cold feeling. Dragging it to the yellow side creates a warm, golden-hour, nostalgic vibe. Get this right before touching anything else.
3. The Tone Curve (The Cinematic Secret)
The Almighty S-Curve
The Basic Panel adjusts math. The Tone Curve creates art. By placing three points on the line and creating a gentle “S” shape (raising highlights, lowering shadows), you create filmic contrast. Want that trendy “faded/matte black” look? Simply grab the bottom-left point (true blacks) and drag it slightly straight up.
4. Color Grading (Injecting Mood)
Shadows
Push toward Teal/Blue for cinematic depth.
Midtones
Keep neutral or slightly warm for skin tones.
Highlights
Push toward Orange/Yellow for sunset vibes.
Color Grading (formerly Split Toning) allows you to inject specific colors into different brightness levels of your image. The classic Hollywood “Teal & Orange” look is achieved by pushing teal into the shadows and orange into the highlights using these exact wheels.
5. AI Masking (Targeted Control)
The Ultimate Power: Select Subject & Sky
In modern Lightroom, you no longer need Photoshop to isolate objects. With one click, Lightroom’s AI can mask your subject in red. You can then increase the exposure and sharpness only on the subject, while simultaneously darkening the background to create a dramatic, three-dimensional pop.
Get Adobe Lightroom
Ready to start editing? Download the industry-standard software below. Lightroom Mobile is a powerful, free starting point for smartphone shooters.