
Depth of Field Simulator
Experience real-time background blur and exposure adjustments.

Have you ever taken a photo in Auto mode only to find it too dark, washed out, or frustratingly blurry? The problem isn't your camera; it's that you let the automatic processor make the creative decisions for you.
The real secret to transitioning from just "someone with a camera" to a "photographer" lies in mastering Manual Mode. And the magic key to unlocking that is understanding what is known as The Exposure Triangle.
This triangle consists of three main elements that control the amount of light entering your camera and hitting the sensor. Let’s decode this puzzle step by step.
Aperture: The Eye of the Camera
Aperture is simply the opening within your lens that allows light to pass through into the camera. You can think of it like the pupil of a human eye; it expands in dark places to gather more light and shrinks in bright sunlight.
- How is it measured? It is measured in f-stops, such as f/1.4, f/2.8, f/8, f/16.
- The Golden Rule: A smaller number (like f/1.8) means a wider aperture (more light). A larger number (like f/11) means a narrower aperture (less light).
The Creative Effect (Depth of Field): Aperture doesn't just control lighting; it is your primary tool for subject isolation. Imagine shooting a portrait with a 50mm lens at a very wide aperture (f/1.8). This wide opening won't just let in a massive amount of light; it will create a "shallow depth of field," resulting in a sharply focused subject and a beautifully blurred, cinematic background (Bokeh). On the other hand, if you are shooting a landscape and want everything from the foreground to the horizon to be tack-sharp, you will need a narrow aperture like f/8 or f/11.
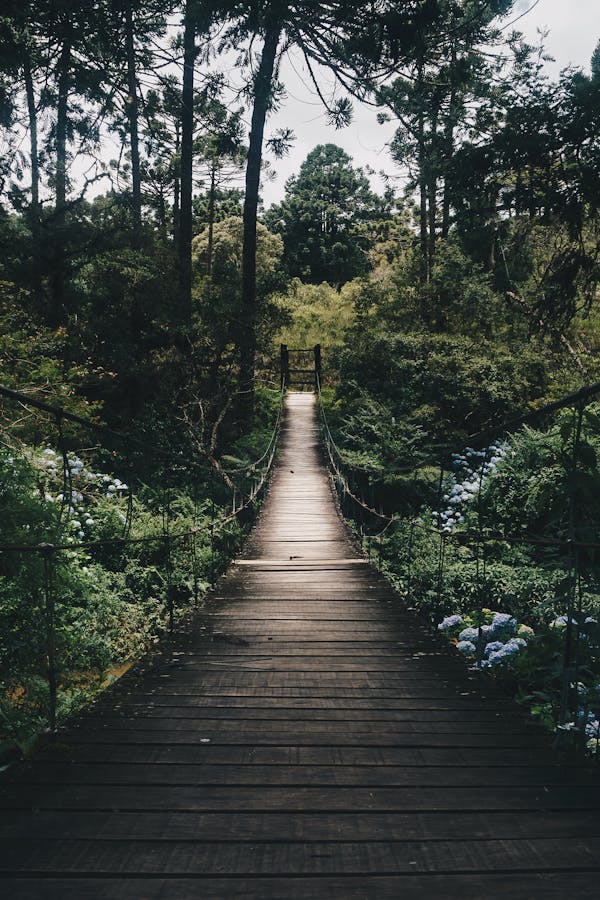
Wide Aperture (e.g., f/1.8)
Shallow Depth of Field (Beautiful Bokeh)
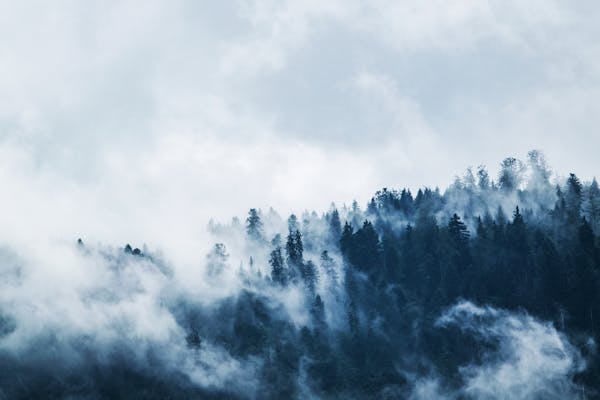
Narrow Aperture (e.g., f/11)
Deep Depth of Field (Everything is Sharp)
2. Shutter Speed: Controlling Time
The shutter is a mechanical or electronic curtain that covers your camera's sensor. Shutter speed is the exact amount of time this curtain remains open to allow light to strike the sensor.
- How is it measured? It is measured in fractions of a second (like 1/1000, 1/200, 1/50) and sometimes in full seconds (like 2s, 5s) for night photography.
- The Golden Rule: A slow shutter speed (like 1/10s) lets in more light. A fast shutter speed (like 1/1000s) lets in less light.
The Creative Effect (Freezing vs. Showing Motion): If you are photographing a fast-moving race car and want to freeze it sharply in place, you will need a very fast shutter speed (e.g., 1/2000 of a second). Conversely, if you are shooting a waterfall and want the water to look smooth, silky, and mist-like, you will need a slow shutter speed (e.g., 1 second or more) along with a tripod to avoid camera shake.
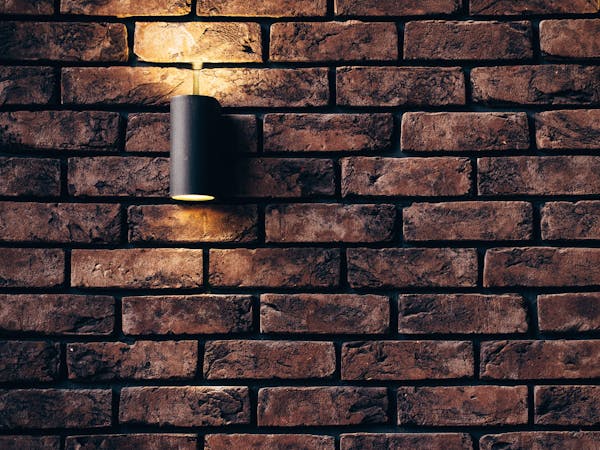
Fast Shutter (e.g., 1/1000s)
Freezing Fast Motion
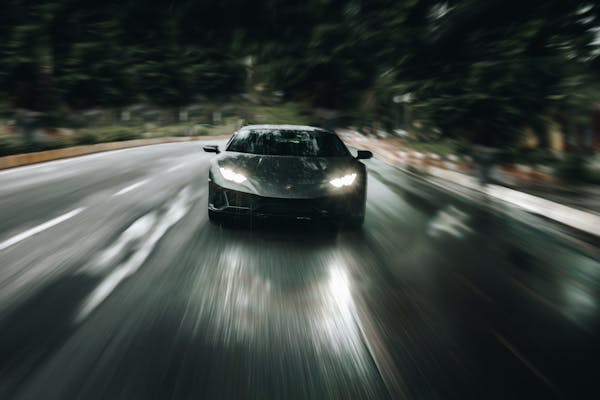
Slow Shutter (e.g., 5 Seconds)
Long Exposure (Capturing Light Trails)
3. ISO: The Hidden Booster
If aperture and shutter speed control the physical amount of light entering the camera, ISO is the system that controls how sensitive your camera’s sensor is to that light.
- How is it measured? It is measured in numbers that typically start at 100 and double (200, 400, 800, 1600, etc.).
- The Golden Rule: A low ISO (100) means low sensitivity to light. A high ISO (3200) means high sensitivity to light (excellent for dark environments).
The Creative Effect (Digital Noise/Grain): Raising the ISO might seem like a magical solution for shooting in the dark without a flash, but it comes with a tax. The higher you push the ISO, the more digital noise and grain you introduce into the image, which degrades its sharpness and purity. The professional rule of thumb is: keep your ISO at the lowest possible base value (usually 100 or 200), and only raise it if lighting conditions force you to and you cannot adjust your shutter speed or aperture any further.
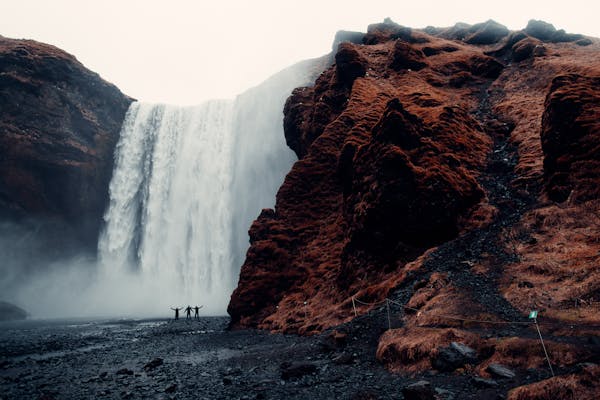
Low ISO (e.g., ISO 100)
Clean, Sharp, and Grain-Free
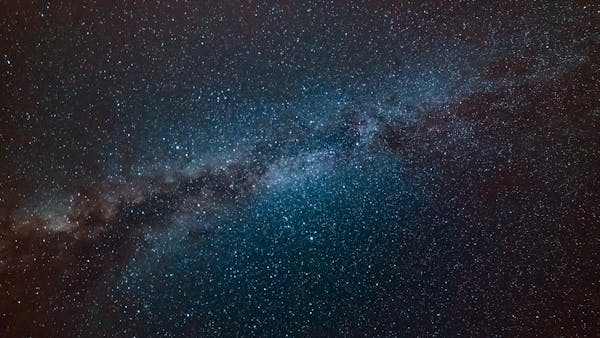
High ISO (e.g., ISO 6400)
Visible Digital Noise & Grain
The Balancing Act
Understanding the exposure triangle means understanding compensation. The three elements are bound together by an invisible thread. If you change one, you must change another in the opposite direction to maintain the same level of overall exposure.
A Practical Example: Let's say you are photographing a friend on the street with these settings: (f/4 - 1/250s - ISO 100), and the exposure looks perfect. Suddenly, you decide you want to blur the background more intensely, so you widen your aperture to (f/2.0). This change just let in a massive amount of extra light, and your photo will now be overexposed (too bright/white). To compensate for this excess light, you must either double your shutter speed (e.g., to 1/1000s) to reduce the time light enters, or lower your ISO (which is already at its minimum here).
Test Your Skills Now! (Practical Application)
Reading the theory is one thing, but applying it in a fraction of a second while shooting is entirely different. The best photographers in the world don't think about these numbers; they feel them through intuition and practice.
At Pixora Photography, we have designed a safe, interactive environment for you to practice these concepts.
Do you think you have mastered the lesson? Jump right into our Exposure Master Challenge. Analyze real photographs and try to guess the exact settings (Aperture, Shutter Speed, ISO) used to capture them to test your photographic intuition!